In 3 steps, you will learn to

Turn the heated material into a disk.

Shape the disk into a stent on the palate.

Trim & finish the stent once it’s set.
What makes a great stent?

Study the example to examine your stent.
Bite function.

Almost translucent on occlusal surfaces.

Tight palatal adaptation.
Palatal anatomy visible in stent.

Stable retention.
Occlusal surfaces & interproximal on buccal side.

Thin stent.
Approximately 2mm / 0.1 inch.

Let's get started!
.svg)
#1
Making & placing
the disk.
Step-by-step
#1.1
Heat 1 sheet of PerioPlast®
%20(1).jpg)
- Open up 1 sheet (all 4 cubes) and pour it into the heated water.
- Stir for 10 seconds. The individual granules will start to clit together.
#1.2
Pull the material off the forceps.
.jpg)
- Once the material sticks to the forceps, take it out of the water.
- Then, pull the material off the forceps.

Apply Vaseline® on your gloves to prevent sticking.
#1.3
Shape a disk by pressing the material. Don’t stretch.
.jpg)
- The thinner the disk, the more comfortable for the patient.
- Don’t stretch or pull the material: it will make the disk uneven.
- Gently the press the material into the desired shape.
#1.4
Sit behind the patient to place disk in the mouth.
.jpg)
- Sitting behind the patient is the easiest way to position the material in the mouth.
#1.5
Position the disk in the mouth.
%20(1).jpg)
- Sufficiently posterior, so there’s no material visible in the anterior zone.
- Sufficiently buccal, so you can press it interproximally.
Quick check
%20(1).jpg)
Long enough to cover the graft site.
%20(1).jpg)
Wide enough for buccal retention.
#2
Shaping the stent on the palate.
Step-by-step
#2.1
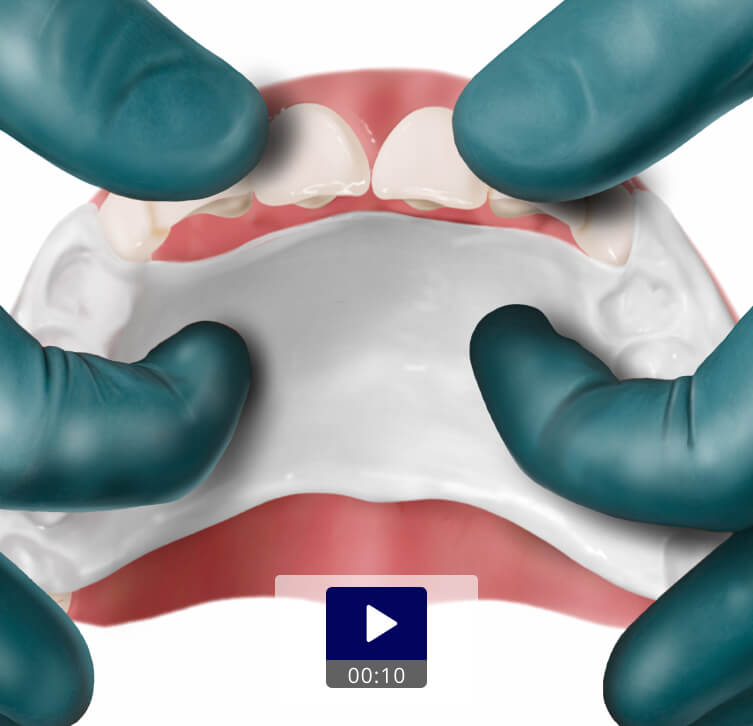
Press the disk firmly onto the occlusal surfaces.
.jpg)
#2.2
Wrap around the vestibular sides.
.jpg)
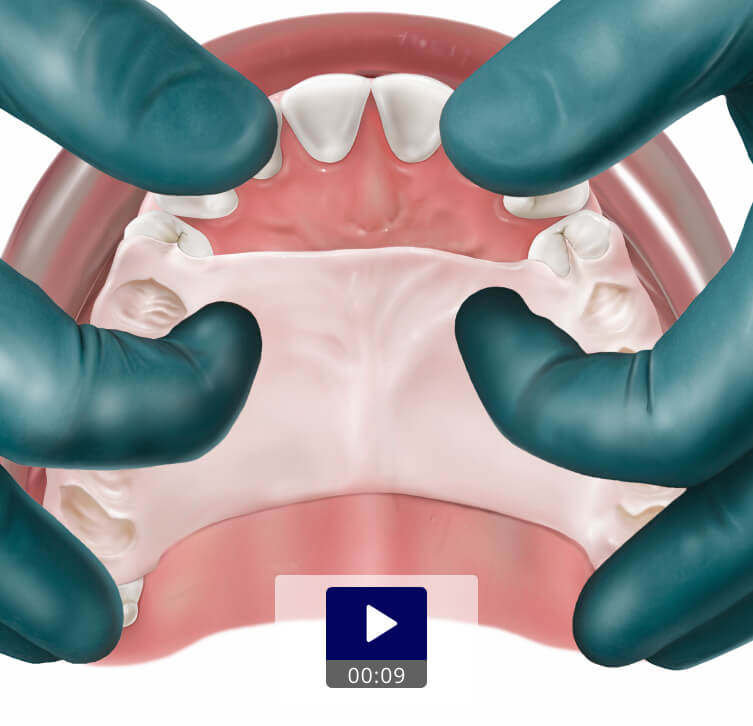
#2.3
Press firmly on the palate until it stays tightly adapted.
Crucial for tight palatal adaptation!
#2.4
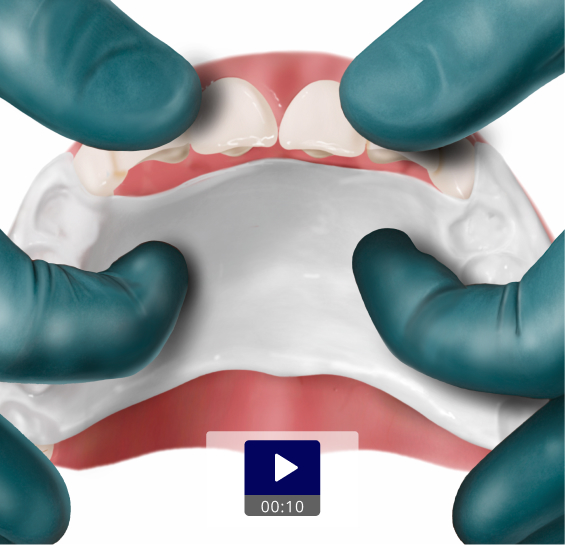
Bite in full occlusion & press interproximally (30 sec.)

- This will create a stent with bite function, enabling the patient to eat.
- Important to secure stable retention.
- Important to lock the stent in the interproximal areas for stable retention.
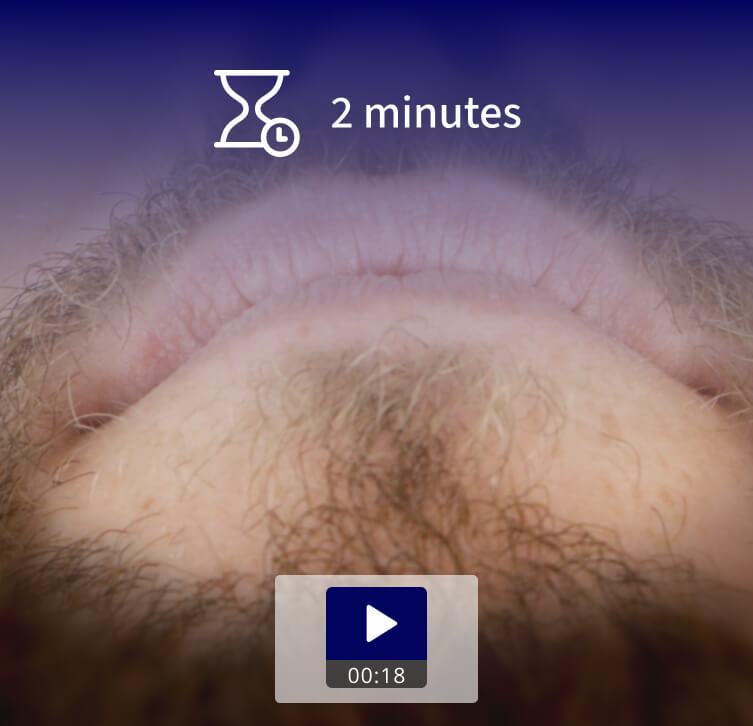
Keep closed for 1-2 minutes & remove once solid.
#3
Trimming & finishing the stent.
Step-by-step
#3.1
Let the stent set in-situ. Remove gently once solid.
%20(1).jpg)
- Remove the stent when you can no longer make a dent into the material.
- Take it out gently to deform as little as possible.
#3.2
Dunk in cold water to set harder.
%20(1).jpg)
#3.3
If needed, trim with scissors.
%20(1).jpg)
After trimming, sharp edges can be smoothened with a heated instrument.
When to trim?

When the stent covers the soft palate.

When the stent covers the alveolar mucosa.
#3.4
Have patient fit the stent & confirm the comfort.
.jpg)
#3.5
The stent is now ready!
%20(1).jpg)
Get support from an Elemental specialist

.jpg)
%20(1).jpg)
%20(1).jpg)
%20(1).jpg)
.jpg)
.jpg)
.jpg)
.jpg)


.jpg)
.jpg)


.jpg)
.jpg)
%20(1).jpg)

.svg)
.svg)
.svg)
.svg)
.svg)
.svg)
.svg)